Showing posts with label Montessori. Show all posts

Wednesday, September 24, 2014

Healthy Chunky Monkey Breakfast Cookies- Kids in the Kitchen

(4 1/2 Years)

We love baking together.  The measuring, pouring, mixing, mashing, tasting.  We are in the kitchen baking something at least every other day, and there are weeks - especially during the rainy season and Christmas season when we are baking every day.

One of our favorite breakfasts and afternoon snacks is this cookie from Maryea at Happy Healthy Mama.  You've seen this on here before.  We started making her recipe (ok, we adapted it slightly) since they were two years old!

Chunky Monkey Breakfast Cookies aka Chocolate Peanut Butter Banana Bites
4 ripe small bananas, about 1 1/3 cups, mashed
2 cups gluten-free oats or regular rolled oats (also called old fashioned oats)
*1/3 cup peanut butter - we use Skippy Natural Dark Chocolate or whatever we have on hand
1 tsp pure vanilla extract
1 cup pitted dates, chopped small
*2/3 cup of chopped nuts, we usually use walnuts and pecans
*1/3 cup of unsweetened shredded coconut
*1/4 cup of dark chocolate chips or vegan chocolate chips

Mix everything together in a large bowl.  Let sit for about 15 minutes.  Heat the oven to 350 degrees. Drop the mixture using tablespoon portions on a silpat or parchment lined baking tray, press down slightly to look like a cookie, or leave rolled into a ball (these will not spread).  Bake for 15 minutes or until tops are golden.  That's it!

Look at how speckled our bananas are.  Those are perfect for baking!  Mash those bananas- forget the fork, when you make banana bread and banana muffins and banana pancakes as often as we do, we use a potato masher.  It's faster and easier.

Look at that smile!  He loves squishing and mashing the bananas.

Add in your rolled oats and walnuts.

Pour in the pecans and peanut butter.

Add in the chopped dates, unsweetened coconut and bittersweet chocolate chips.

Add the vanilla.  Mix well.  Allow to rest for 15 minutes.  This is when I start preheating my oven.

Bake for 15 minutes.  

Delicious!  Packed with healthy goodies and chocolate.  Enjoy!

Wednesday, August 13, 2014

Rainbow Swirl Salt Tray

(4 1/2 Years)

Our latest "toy" is our Rainbow Swirl Salt Tray.  It's so much fun to play with.  It's very relaxing, it's almost mesmerizing.  Plus it took less than ten minutes to put together, and that's with two 4 1/2 year olds working on it!  Oh, and you most likely have everything in your home already.

My husband was going to toss a wooden box with a lock on it, but lucky for me he asked if I wanted it for something.  I knew right away, it would be used for a salt tray.  I've been putting off creating a salt tray, because... because... hmmmm.  Well, now we have a tray and it's time to add the colored salt- so much more fun than plain white salt.

Have you dyed salt before?  Here, let Little Miss and Wild One show you how.

Materials Needed:
1/3 cup measuring cup (optional- but I like having equal measurements of everything)
table salt (we buy whichever is on sale to use in our crafts)
artificial food dye or liquid water color
bowls
fork or spoon
tray(s) to help contain the inevitable mess (baking sheets and cake pans work well also)
tray with a lid (they sell salt trays, but a plastic take out container works well also)

Pour salt into a measuring cup.  Level off with the back of a butter 
knife (it's great practice for leveling off flour for your baking projects)

Pour the measured salt into a small bowl.  Add three drops of food coloring to the bowl.

Mix with a fork.

Continue mixing with your fingers (gloves are not necessary, Little Miss just loves them).

Pour your colored salt into your designated salt tray.
Have fun swirling.

Practice writing letters or drawing faces or swirling.

Everything is more fun with a magic wand!   Have fun getting ready 
for writing, or practicing writing.  Learning through play.

Wednesday, February 12, 2014

Chocolate Fudge (Avocado) Cookies

(4 Years)

This morning (a little before seven), the kidabunks asked if we could bake some cookies.  Yes!  Yes!  Yes!  I could use a few myself!  I've been pretty lenient about baking healthy ever since the holidays (which for us began on November 1st- the kids had a brilliant idea that we should make practice pies, just to be certain that they will be tasty enough for Thanksgiving).  Mixing 1/2 white and 1/2 whole wheat flours, instead of just all whole wheat (and some recipes all white flour- sarcastic gasp).  Wow, everything is so much lighter, and more delicate, with white flour.  Butter, mmmmm butter.  Not applesauce.  Not Greek yogurt.  Butter.  Mmmmmm.  I almost forgot how beautiful butter looks when it's been creamed with sugar.  Butter.  Mmmmmmm.

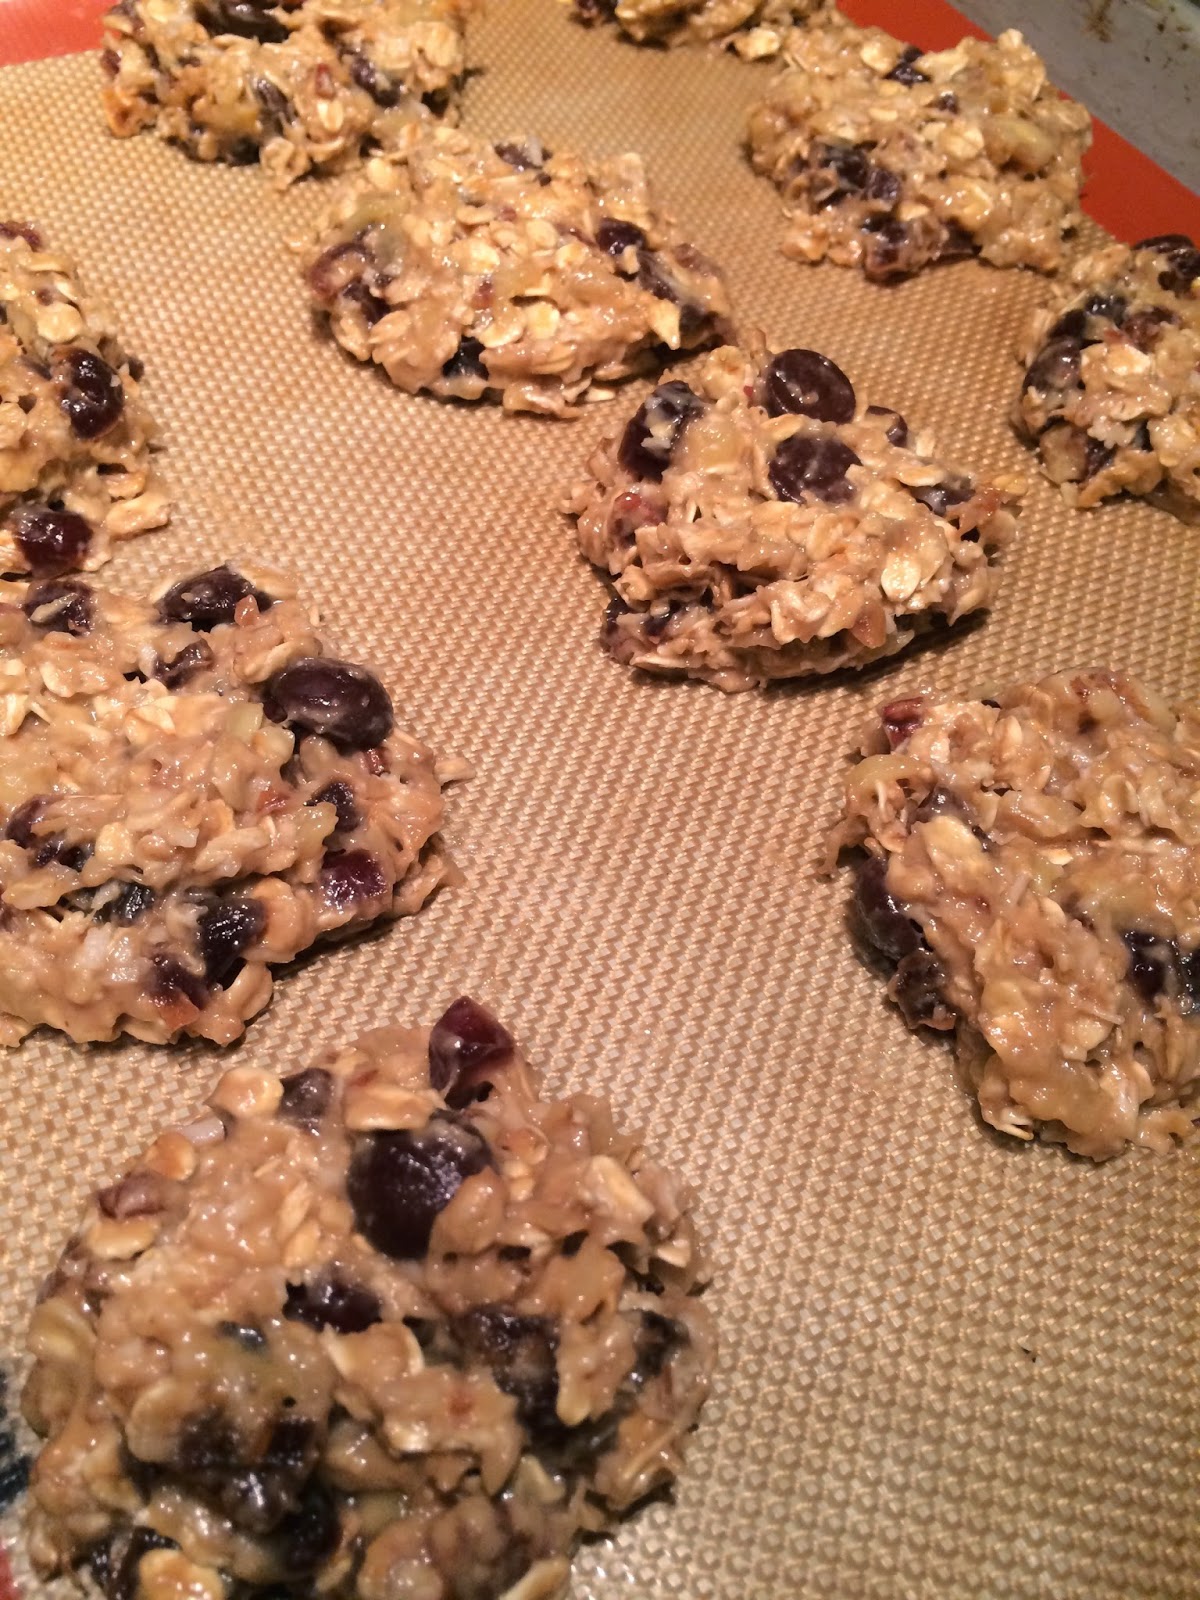
Ok, so we've been trying to get back on track with healthier baking.  When the kids asked for cookies, I knew we weren't going to be baking with lots of sugar and butter and white flour.  Let's get back to those healthy cookies that they didn't know were healthy.

I grabbed a can of black beans so that we can make the chocolate brownie (secret ingredient) cookies (recipe here).  These are really good, no really they are!  We have baked them for several play dates and no one has ever guessed that they were healthy, you can't taste the black beans.  Really, you can't.

Then I noticed we had an avocado that was looking kind of past its prime.  I sliced into it, to make sure that it was still green inside and then declared, we are going to bake avocado chocolate chip cookies!  Wild One loves sliced avocado, he could eat it everyday.  "Are you kidding me?" Wild One was so excited. 

Anyway, I've had this recipe pinned for months and was so happy that we were finally going to try it.  The recipe came from The Smoothie Lover and it is very kid friendly (except for the hand mixer and well the oven part) 

Chocolate Avocado Cookies
3/4 cup of ripe avocado flesh
1/2 cup of sugar (we used white, her recipe calls for coconut sugar)
1 egg
1/2 cup of dark unsweetened cocoa powder
1/4 cup of dark chocolate chips
1 T water
1/2 t baking soda

Preheat the oven to 350 degrees.  Line a baking half sheet or a cookie sheet with a Silpat.

Combine the avocado and sugar in a medium-sized bowl using a hand mixer until very creamy (and no lumps remain).  Mix in the egg.  Next, add the cocoa powder and chocolate chips.  Stir to thoroughly combine.

In a separate bowl, beat the water and baking soda until the baking soda is completely dissolved.  Pour the baking soda solution into the batter, mix well to combine.


 (don't forget to add lots of love - that's Grandma's secret ingredient)


Using a tablespoon cookie scoop, portion out 12 cookies.  Flatten slightly, as they do not spread out during baking.  Bake for 8-10 minutes.  Allow to cool completely on a wire rack.  Transfer to an airtight container and refrigerate until cold.

Best eaten cold, after resting in the fridge overnight. 

So…. the verdict?  How did these taste?  Like chocolate fudge!  Why did we ever wait this long?  These are decadent!  Did I mention that they taste like chocolate fudge?  Now, they don't crisp-up like a cookie.  They remained soft and delicate, but they are absolutely delicious!  They have the consistency of a truffle that hasn't firmed up yet.  The next time we bake these, we are going to try melting the chocolate chips, because the bite from the chip detracts from the smooth texture of the "cookie".  Oohhh, I know what we'll do.  We won't flatten them out before baking.  We'll leave them rounded.  After baking, we'll let them do their cooling bit and then we will pop them in the freezer for 15 minutes and coat them in melted bittersweet chocolate.  Oooohhhhh yum.  Thank you Josefine (The Smoothie Lover).

And another special thank you to My Jeanine, Uncle Keith, "Buddy" and "Lucy" for the awesome drumstick mixing spoons.  Wild One loves them!  While I was gathering the ingredients, he was drumming away.  I did tell you that this all started at 7:30 right?

Here's another chocolate fudge cookie that's healthy and packed with protein from black beans and quinoa.  Don't worry no one will be able to tell that these soft, brownie-like cookies are healthy.

Monday, August 19, 2013

Morning Table Work - An Easy Way to Start the Day

(42 Months)

We have been doing morning table work since Wild One and Little Miss were about a year and a half old.  The beauty of morning work is that it is something that the kids will want to work on and allow us time to make coffee, breakfast, and empty the dishwasher.

Little Miss loves discovering what's on their table each morning.  Once there, she usually gets right to work.  Lately, she's been trying to finish all of her work before Wild One enters the playroom.  She's been on a competitive streak lately.  Kids!

The only guidelines I use to determine what goes on the table for morning work are: (1) they can work on this independently, and (2) they are reinforcing a particular skill (they have already learned how to do this work, this is to reinforce it).  Our work is almost always in the form of play, so I know they will work on it happily for at least ten minutes (that's usually our stopping point - some activities they will engage in for an hour or more, it just depends upon their mood and the activity).  

If you need a few extra minutes to start your day, or want to incorporate some independent work time, here is a quick and easy way.  Below are some ideas to get you started for morning table work:
Knobbed Cylinders and Tangrams

Unifix Cubes


Magnetic letters and a cookie sheet- match the letter, or practice spelling, or place the letters in alphabetical order


Art invitation - Cover the table with easel paper with crayons and markers

Legos and blocks

Clay rolled into logs- can be used to form letters, or they can practice cutting with a small spreader knife, or they can just play with it and exercise those finger and hand muscles

Sticker Work


Uppercase and lowercase matching


b, d, p, q Review