Monday, February 17, 2014

Repurposing Cut Straws

(4 Years)

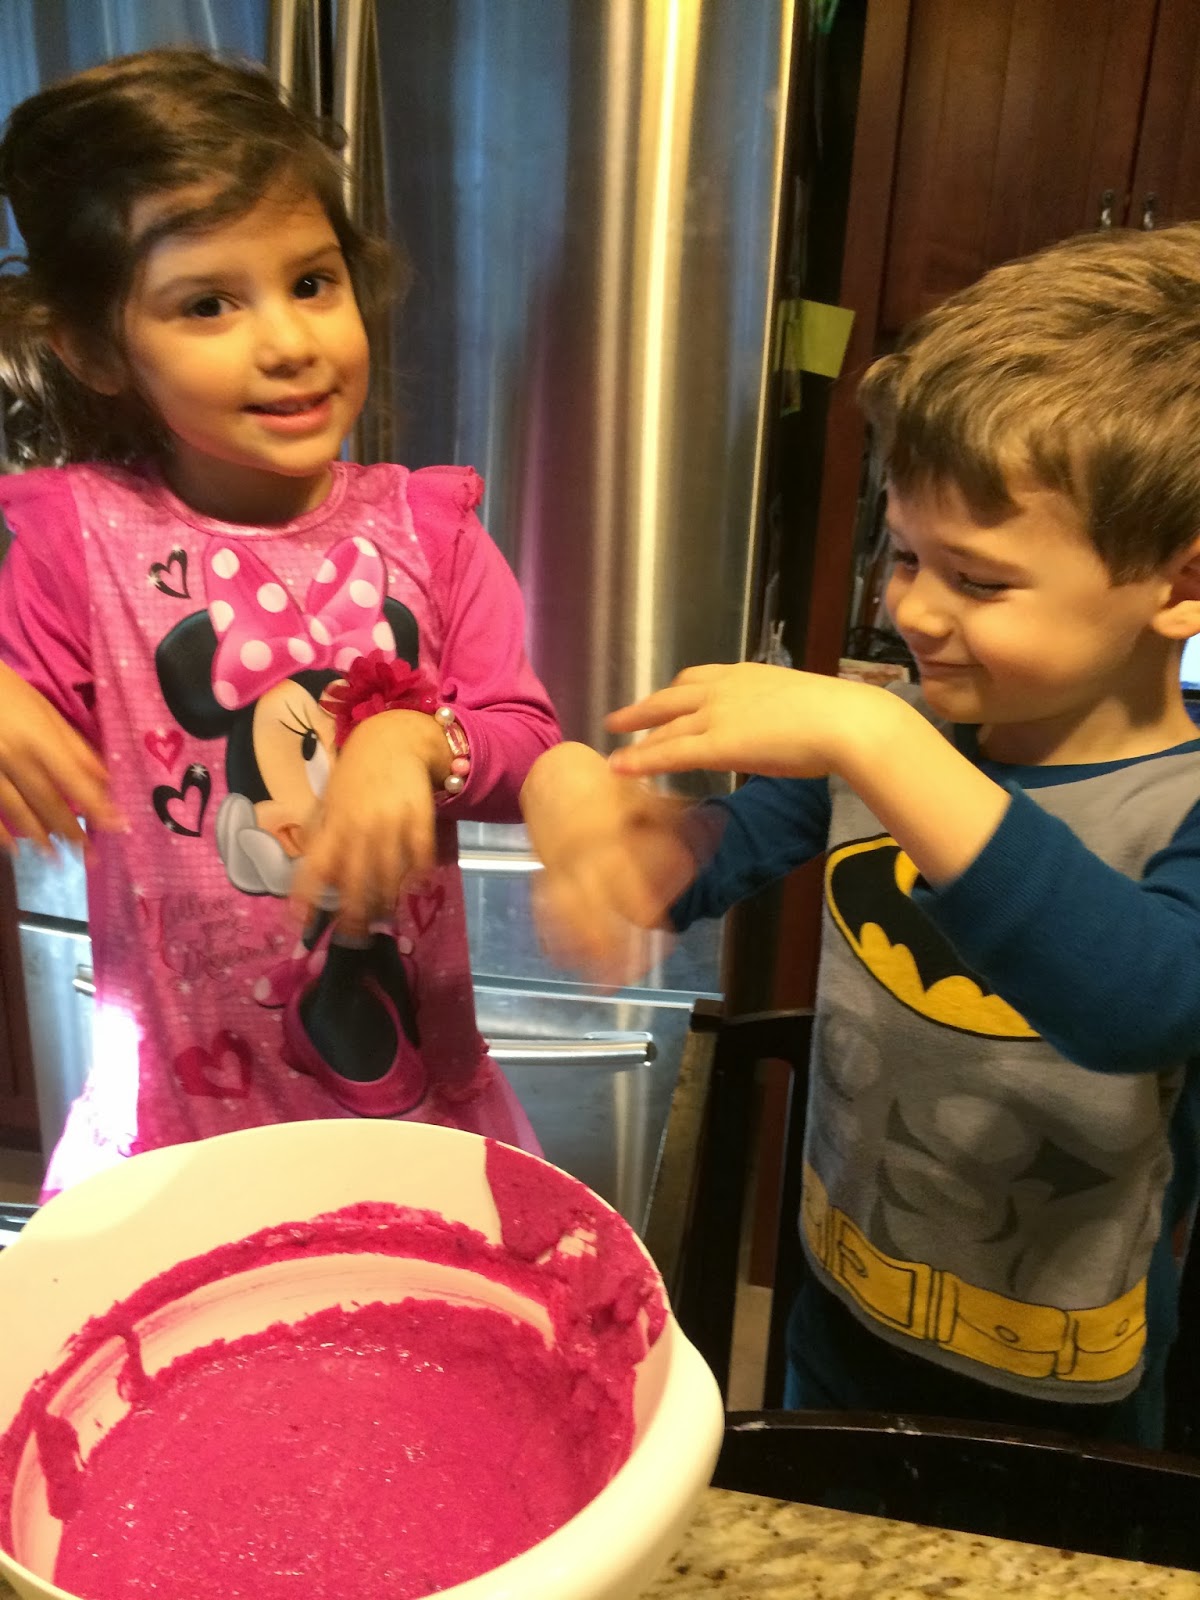
We love playing with play dough, specifically the homemade stuff.  It's softer, more pliable and retains it's squishy texture for months longer than the stuff in the yellow cans.  If you haven't ever made play dough, it's fast and easy.  See here for a quick 15 minute (start to finish) recipe- you can't even get to and from the store in that time.

We like cutting straws, they make a great popping sound as they fly off the base of the straw.  What should we do with all of those straw cuttings?  Save them!  As a teacher, I used manipulatives (hands-on objects that you can use as visuals) in almost all of my math lessons.  They make learning fun.  Tell a fifth grader, we're going to be working on algebra.  You can actually hear him/her deflate.  BUT, give that same student a bag of game pawns, coin blanks, cubes, teddy bear counters… and all of a sudden it's a game!

Here are some examples of what we do with our straw cuttings:
Patterning - Math: We began with a simple ABA (green, pink, green, pink) pattern, then we moved onto an AABAA (blue, blue, orange, blue, blue, orange) pattern.

Number Sense - Math:  They chose which color straw cuttings they wanted to use, then counted as they placed them in their respective numbers.

Sorting/Classifying by Size (both increasing and decreasing size order) - Math and Science (yes, I know sorting and classifying mean the same thing, however in math the term sorting is usually used for elementary school-aged children and in science it's classifying- please excuse my inner teacher from sneaking out)

Sorting/Classifying by Color - Math and Science

Play Dough Letters - Art and Pre-Writing:  I made the M, although I should have had them make the letters.  We haven't done this since, well here.  They then added the straws to the play dough letters.

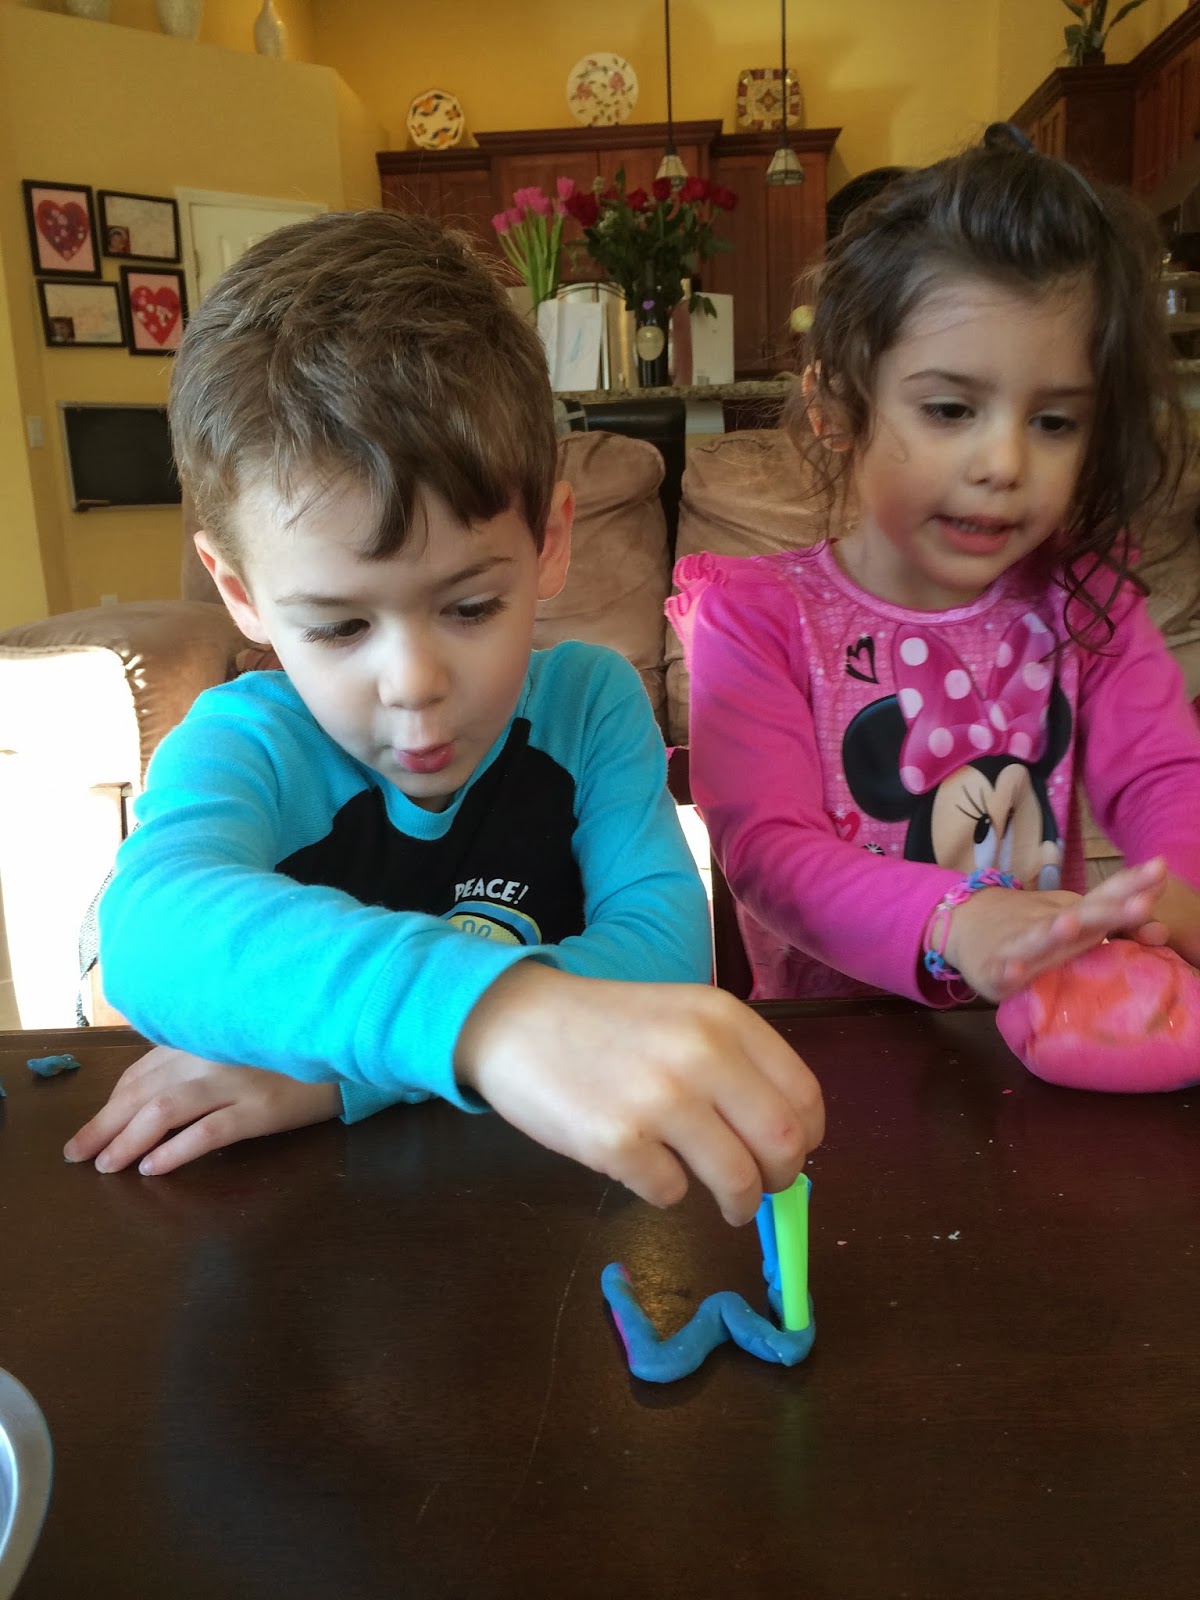
Play Dough Add-ins - Art and Pre-Writing:  Have you read The Greatest Snowman in the World?  It's hilarious, especially when you add in the implied inflections.  Wild One decided he was going to make the Greatest Monster in the World with a lot of antennas, arms and legs.  Meanwhile Little Miss  decided to make a path and then poke the tips into the path.

I love the look of concentration on his face!


I'm so proud of my Little Miss.  It took her a long time to roll out that snake.  
I think it's the longest one she's ever made.


As you can see (or almost see), all of the play dough toys made their way onto the table.

Wild One discovered that if he squeezes the straw cuttings the play dough will ooze out!  Look SCIENCE- he made a discovery!

I love how his tongue pops out when he's concentrating, just like his Dad and his Grandpa Fredo.

Making Jewelry or Threading Practice - Art
My little ones actually did this almost a year ago.  Wow, look how little he was?  They are growing too fast!  Here's the post, not that you need any instructions for this.

Have fun playing, learning, learning through play.  C'mon it's easy.  It really is the best way.  It's now time to go outside and play!

Saturday, February 15, 2014

Valentines' Day Pink Pancakes (no food dye)

(4 Years Old)

My Little Miss loves pink.  Pink clothes, pink accessories (yes, accessories), pink sneakers and shoes, Pinkalicious books, pink crayons and markers…. Of  course, I knew she would LOVE pink pancakes.  We've been making a slightly adapted version of Catherine's version at Weelicious for over two years now.  It's one of their favorite pancake recipes.

This is a very kid friendly cooking recipe.  Pull up a stool for the kiddies and let them help.  Yes, there will be a mess- but face it, you have kids you were going to vacuum anyway.

Pink (Beet) Pancakes 
1 3/4 c Whole Wheat Pastry Flour (or an equal blend of whole wheat flour and unbleached all-purpose flours)
1/2 tsp Kosher salt
1 Tbsp Baking soda
2 Medium Beets, roasted, peeled and cooled  (about 3/4 cup)- I usually roast the beets a day ahead* 
1 Egg  
2 Tbsp butter, melted and cooled
3 Tbsp Sugar (whichever is your preference- white, coconut and even light brown all work well)1 1/4 c Milk (we use 2%)
1/3 c Greek Yogurt (we use 0%, any would work)
1 tsp Vanilla extract

Directions

Preheat your griddle to medium-low.  

Sift the first three ingredients into a large bowl.

Whisk the egg in a separate medium-sized bowl for about 30 seconds, whisk in the butter and sugar until combined.  Mix in the remaining wet ingredients OR you could just throw all the wet ingredients (beets, egg, melted butter, sugar, milk, Greek yogurt and vanilla extract) into the blender and puree until smooth (first puree the beets until smooth, then add the remaining ingredients and puree until well incorporated).


Add the wet ingredients to the dry.  Stir until just combined.  A few lumps are ok.  If you over stir, your batter will not be as light because of the extra gluten formation that occurred from over mixing.

Have the kids add their love.

Grease the griddle.  Cook your pancakes for about two to three minutes, or until the sides begin to look dry.  Flip over and cook for another two minutes.  Remove to warming dish.

We like to make Mickey Mouse pancake shapes, tiny silver dollar pancakes and now letter pancakes using our fun pancake pen (affiliate link provided- however, I was not compensated for reviewing this pen, yadda yadda, just sharing what works for us).

*How to roast beets- Preheat the oven to 400 degrees.  Cut off stems and roots from beets.  Wash well to remove any stuck on dirt.  Create an aluminum foil pouch for each beet, leaving air in the pouch so that the beets with steam while they roast.  Bake for an hour.  Allow to cool.  Carefully tear open the pouches, and with your fingers slide the skins off (discard the skins).  For this recipe, place the beets in a food processor and puree until smooth.  

This pancake pen is AWESOME (click here)!  That's the pen with the green cap and base, and pink batter.  It has a wide base to allow easy transferring of the batter into the pen.  The nozzle is not only wide enough to allow our thicker batters to flow through, it is also made of silicone so that you don't have to worry about touching the nozzle to the pan.  It even has a cap so that you can keep left-over batter for the next day.  The entire device comes completely apart for easy clean up AND it is top-rack dishwasher safe.  I love this thing!  Look at those letters.  I should have taken pictures of the hearts, swirls and Mickey Mouses, but they were eaten too fast!

These really are delicious and I promise that you cannot taste the beets.  

Wednesday, February 12, 2014

Chocolate Fudge (Avocado) Cookies

(4 Years)

This morning (a little before seven), the kidabunks asked if we could bake some cookies.  Yes!  Yes!  Yes!  I could use a few myself!  I've been pretty lenient about baking healthy ever since the holidays (which for us began on November 1st- the kids had a brilliant idea that we should make practice pies, just to be certain that they will be tasty enough for Thanksgiving).  Mixing 1/2 white and 1/2 whole wheat flours, instead of just all whole wheat (and some recipes all white flour- sarcastic gasp).  Wow, everything is so much lighter, and more delicate, with white flour.  Butter, mmmmm butter.  Not applesauce.  Not Greek yogurt.  Butter.  Mmmmmm.  I almost forgot how beautiful butter looks when it's been creamed with sugar.  Butter.  Mmmmmmm.

Ok, so we've been trying to get back on track with healthier baking.  When the kids asked for cookies, I knew we weren't going to be baking with lots of sugar and butter and white flour.  Let's get back to those healthy cookies that they didn't know were healthy.

I grabbed a can of black beans so that we can make the chocolate brownie (secret ingredient) cookies (recipe here).  These are really good, no really they are!  We have baked them for several play dates and no one has ever guessed that they were healthy, you can't taste the black beans.  Really, you can't.

Then I noticed we had an avocado that was looking kind of past its prime.  I sliced into it, to make sure that it was still green inside and then declared, we are going to bake avocado chocolate chip cookies!  Wild One loves sliced avocado, he could eat it everyday.  "Are you kidding me?" Wild One was so excited. 

Anyway, I've had this recipe pinned for months and was so happy that we were finally going to try it.  The recipe came from The Smoothie Lover and it is very kid friendly (except for the hand mixer and well the oven part) 

Chocolate Avocado Cookies
3/4 cup of ripe avocado flesh
1/2 cup of sugar (we used white, her recipe calls for coconut sugar)
1 egg
1/2 cup of dark unsweetened cocoa powder
1/4 cup of dark chocolate chips
1 T water
1/2 t baking soda

Preheat the oven to 350 degrees.  Line a baking half sheet or a cookie sheet with a Silpat.

Combine the avocado and sugar in a medium-sized bowl using a hand mixer until very creamy (and no lumps remain).  Mix in the egg.  Next, add the cocoa powder and chocolate chips.  Stir to thoroughly combine.

In a separate bowl, beat the water and baking soda until the baking soda is completely dissolved.  Pour the baking soda solution into the batter, mix well to combine.


 (don't forget to add lots of love - that's Grandma's secret ingredient)


Using a tablespoon cookie scoop, portion out 12 cookies.  Flatten slightly, as they do not spread out during baking.  Bake for 8-10 minutes.  Allow to cool completely on a wire rack.  Transfer to an airtight container and refrigerate until cold.

Best eaten cold, after resting in the fridge overnight. 

So…. the verdict?  How did these taste?  Like chocolate fudge!  Why did we ever wait this long?  These are decadent!  Did I mention that they taste like chocolate fudge?  Now, they don't crisp-up like a cookie.  They remained soft and delicate, but they are absolutely delicious!  They have the consistency of a truffle that hasn't firmed up yet.  The next time we bake these, we are going to try melting the chocolate chips, because the bite from the chip detracts from the smooth texture of the "cookie".  Oohhh, I know what we'll do.  We won't flatten them out before baking.  We'll leave them rounded.  After baking, we'll let them do their cooling bit and then we will pop them in the freezer for 15 minutes and coat them in melted bittersweet chocolate.  Oooohhhhh yum.  Thank you Josefine (The Smoothie Lover).

And another special thank you to My Jeanine, Uncle Keith, "Buddy" and "Lucy" for the awesome drumstick mixing spoons.  Wild One loves them!  While I was gathering the ingredients, he was drumming away.  I did tell you that this all started at 7:30 right?

Here's another chocolate fudge cookie that's healthy and packed with protein from black beans and quinoa.  Don't worry no one will be able to tell that these soft, brownie-like cookies are healthy.

Monday, February 10, 2014

Learning Our Phone Number Through Song

(4 Years Old)

I can't believe that I never had the kids practice memorizing their telephone number.  Never, not once.  It hadn't even occurred to me that I should have them learn their telephone number.  Maybe it's because they are not in school yet.  Maybe it's because they are always with me.  I don't remember what sparked this sudden need to have the kids learn their home number, but whatever it was I'm glad it happened.

Hmmm, now how to go about this.  Taking a cue from when we learned the days of the week, and the months of the year (see the post here), I decided that I would create a short song to help them memorize their number.  It always amazes me how quickly kids learn the words to songs.

We used the song B-I-N-G-O and changed the words:
"Hello, my name is Wild One (if your child has more than one syllable to their first and last name, eliminate the "hello")
and this is my phone number
444-555-1212 (four, four, four, five, five, five, one, two, twelve)
please call home for me."

We first practiced singing the song.  Next, I quickly drew a picture of our telephone on colored printer paper- with the TALK and END buttons (since our telephone requires you to press TALK in order to place the call).  I also wrote our number on the bottom of the telephone drawing, so that they could practice whenever they wanted.

I was so happy to hear Little Miss and Wild One keep asking to be next (heh heh, you're learning and you don't even know it, evil - most sinister laugh, twirl mustache).  Within a couple of days of practicing, they learned their telephone number.  Yay!  Once they learned their telephone number, I cut off the number from the drawing.

They were so proud of themselves that they learned their telephone number.  I am too, they make me so happy!  I love that they are learning through play.